HDZero Monitor Operation
This section describes the general operation of the HDZero Monitor.
Band & Channel
HDZero Monitor does not have a scanning function, you need to set Band & Channel manually.
Band and channel are set separately, which means you can switch to the channel you want faster.
For HDZero, following channels are supported:
- E1
- F1, F2, F4
- R1 - R8
- L1 - L8
For Analog, following channels are supported:
- A1 - A8
- B1 - B8
- E1 - E8
- F1 - F8
- R1 - R8
- L1 - L8
To Change Band
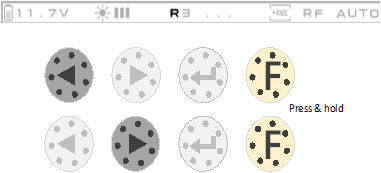
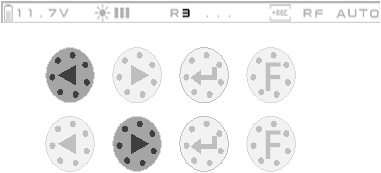
To Change Channel
Sources
HDZero Monitor supports two signal sources: RF In and Line In.
For RF In:
- HDZero Monitor will automatically switch between RF Analog and RF HDZero until the rf signal is locked.
- When the RF analog signal is locked, NTSC/PAL will be automatically detected.
- When the RF analog signal is locked, the VI/AO interface will output the audio from Analog RF.
For Line In:
- When the line in signal is locked, NTSC/PAL will be automatically detected.
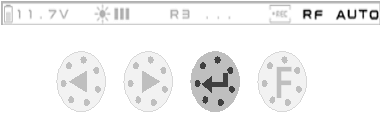
To Change Source
Recording
Insert the SD card into the slot before recording video. The recommended SD card specifications are as follows:
- 8GB-32GB
- FAT32, unit size is 4096 Bytes
After the SD card is correctly recognized, the SD card OSD located in the upper right corner of the screen will be hidden.
When a valid signal is locked, recording will start automatically. When the signal is lost, recording will automatically stop.
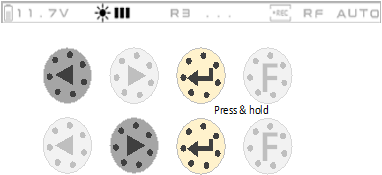
You can also manually control the start and stop of recording at any time by the button.
To Start/Stop Record
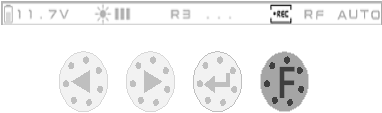
Image settings
The following image settings can be set via the HDZero Programmer App:
- Brightness
- Contrast
- Saturation
- Backlight
Backlight also supports quick adjustments using Buttons.
To Change Backlight
OSD
You can enable/disable the FC OSD display. You need to set it via the HDZero Programmer App.
CAD Model
You can download the CAD file from https://github.com/hd-zero/hdzero-tooling, You can print the battery box or sunshield nased on the 3D model.
 Eason FPV